
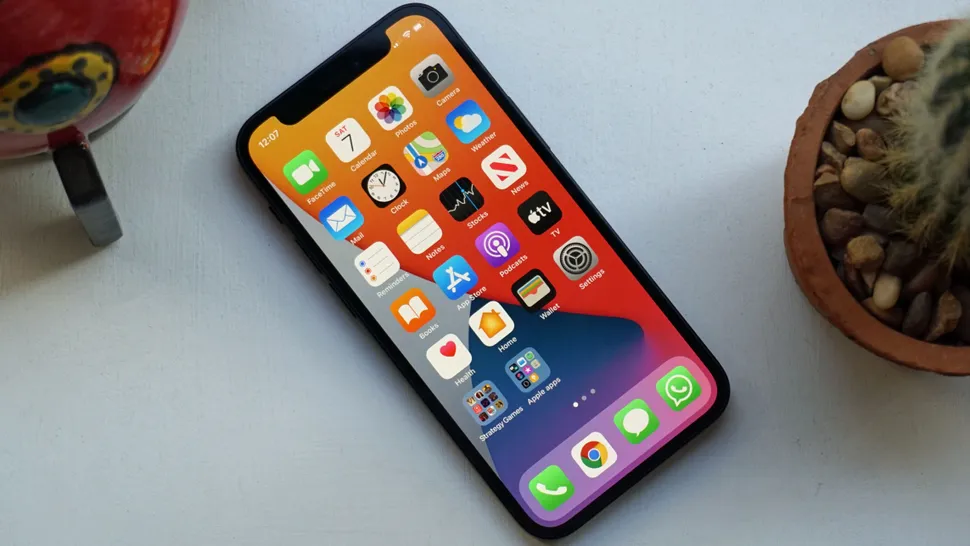
If you were lucky enough to receive a brand new iPhone, you will be in for a surprise. Whether it’s the smallest iPhone SE, the oversized iPhone 12 Pro Max or anything in between, Apple continues to advance the phone’s performance.
If you’re new to the ecosystem, or it’s been a while since you switched devices, there may be a lot to learn as part of the initial setup process.
Luckily for you, we’ve designed this guide not only to get your new phone ready for use, but also to transfer settings from your existing device. Let’s start.
Backup your current iPhone
The first thing to do is to protect your personal data, photos and anything on your current iPhone (if you have one).
You can do this in two ways. You can connect your iPhone to a PC or Mac, or through iCloud, but you will need your iPhone’s access code, as you will be asked to “Trust” your computer at various stages of the process.
On a PC, you will need to use iTunes. Open iTunes and look for the small iPhone icon next to the media selection drop-down box. Click on it and click “Back up now”.
On a Mac, the backup is no longer linked to iTunes. After your device is connected, open a Finder window and look to the left (in the sidebar) to locate your device. Click on it and choose “Back up now”.
Backup via iCloud it is undoubtedly the simplest method, as it can be done from your device. While connected to Wi-Fi, open Settings and select your name, then iCloud.
Under iCloud Backup, make sure the box is checked and tap Backup now to start a current backup. Once this is done, your phone will display the last successful backup.
Restore the backup to your new device
Whichever method is used, restoring a backup is a simple process and is part of the initial iPhone setup process.
As soon as the device is turned on for the first time (or after restarting it), you will be greeted by the “Hello” screen. Make sure to set up a Wi-Fi connection in these initial steps.
Once you get to the “Applications and data” section, you can choose whether to restore from your Mac or PC or from an iCloud backup.
For iCloud backups, simply log in with your Apple ID and select the backup you want to restore from (if you have more than one, be sure to check the date, especially if it is behind the most recent).
You may need to update, in which case the device will ask you to update iOS.
If you are restoring from your Mac or PC, simply connect your phone to the device from which you backed up your old device before pressing “Restore Backup” in iTunes (Windows) or Finder (macOS).
Restoration may take some time, but it will bring all of your content perfectly. Your device will be restarted at the end of the process.
Switch from Android to iPhone

Believe it or not, it’s easier than ever to switch from an Android device to an Apple device today.
That’s because Apple launched an app on the Google app store dubbed “Move to iOS” – and it does exactly what it says on the tin.
For more information on how to transfer from Google to Apple, be sure to follow our handy guide.
Prepare your old iPhone for resale or renewal
Handing over your old iPhone to a friend or relative, or want to sell it to earn some money?
Apple devices tend to maintain their value for a long time, making them perfect for selling as soon as you leave (especially when they are in good condition, highlighting the importance of a case).
It’s easy to clean your device by removing all of your personal belongings – just make sure you transfer all of your information first, or just back up everything (using our guide at the top of this page).
On the iPhone you are selling / gifting, access the settings, tap your name and select “Exit”. You will need your Apple ID password and then tap “Disconnect”.
Doing so will disconnect your Apple ID and remove your ability to track your device using Find My iPhone.
Now, go back to the settings, click on General, Reset and then “Erase all content and settings”. Enter your password and your phone will be reset to factory settings.